Meatless Dinner Ideas:
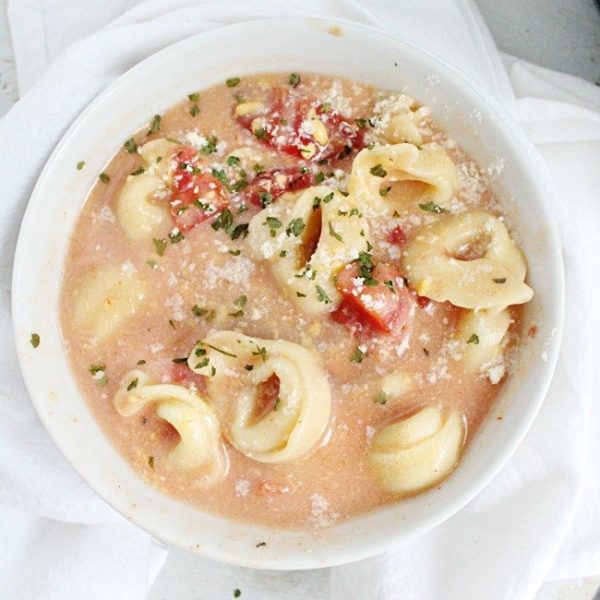

Crock Pot Creamy Tortellini Soup
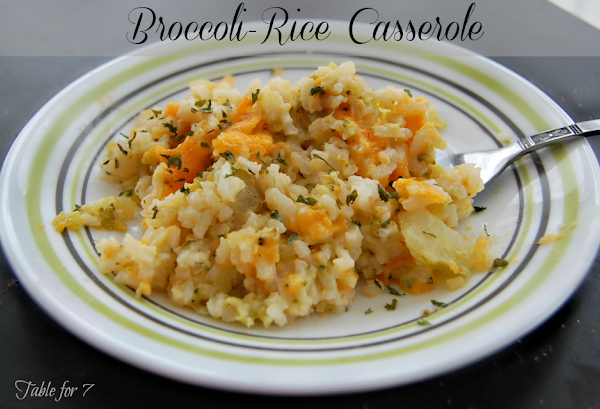

Broccoli-Rice Casserole
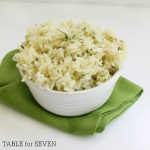
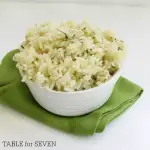
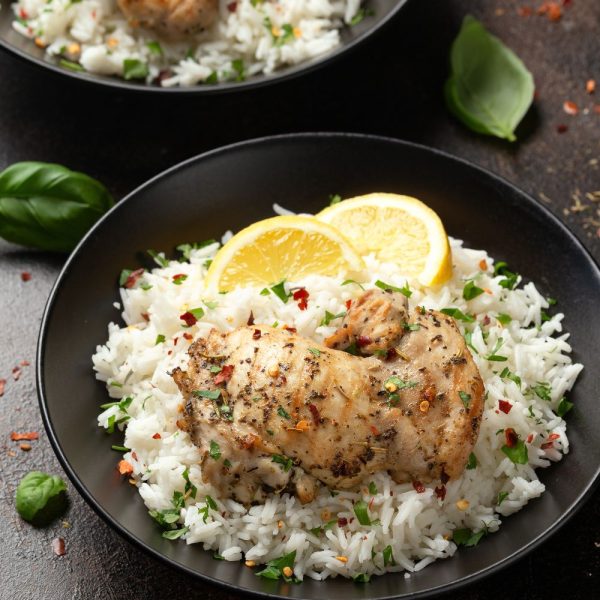
Chicken Flavored Rice
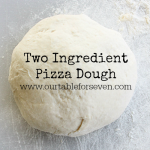

Two Ingredient Pizza Dough
Air Fryer:


Breaded Ravioli (for the Oven and Air Fryer)


Air Fryer Mozzarella Sticks
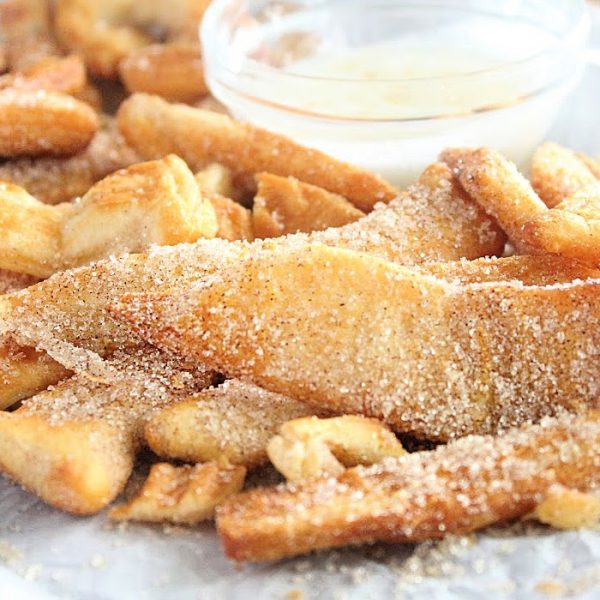

Air Fryer Doughnut Sticks


Air Fryer Sausage Croissants
Crock Pot/Slow Cooker:
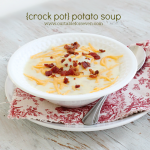

Crock Pot Potato Soup

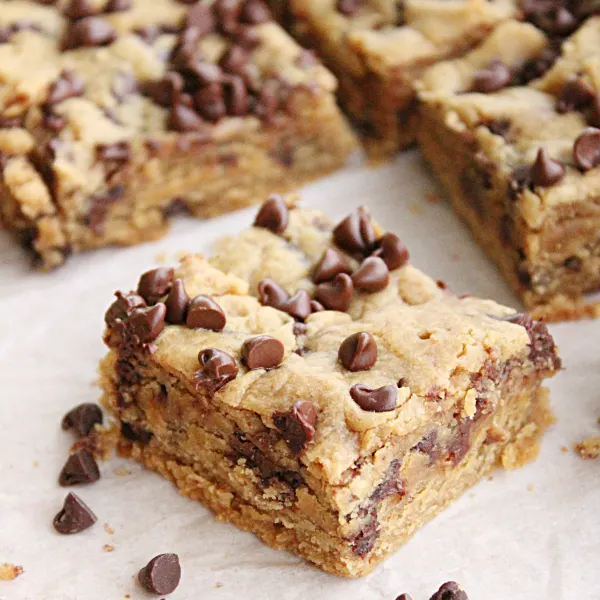
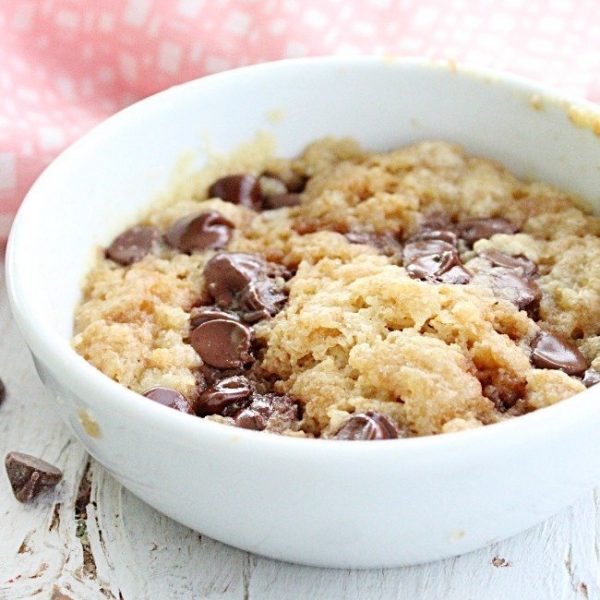
Crock Pot Peanut Butter Chocolate Chip Blondies
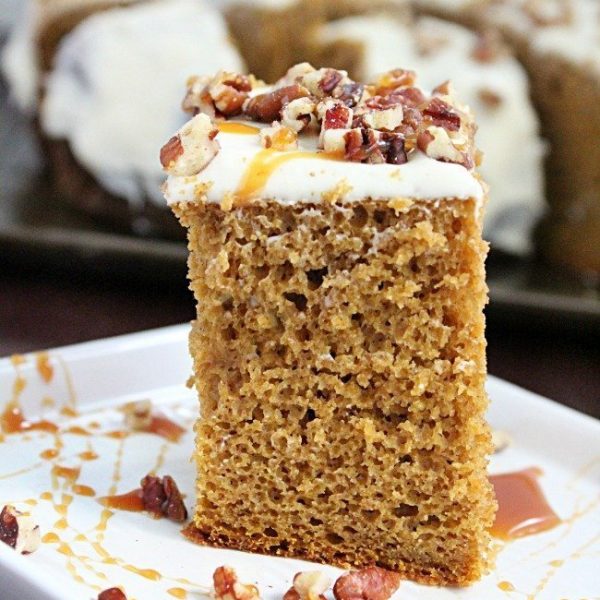

Crock Pot Pumpkin Spice Cake with Cream Cheese Frosting
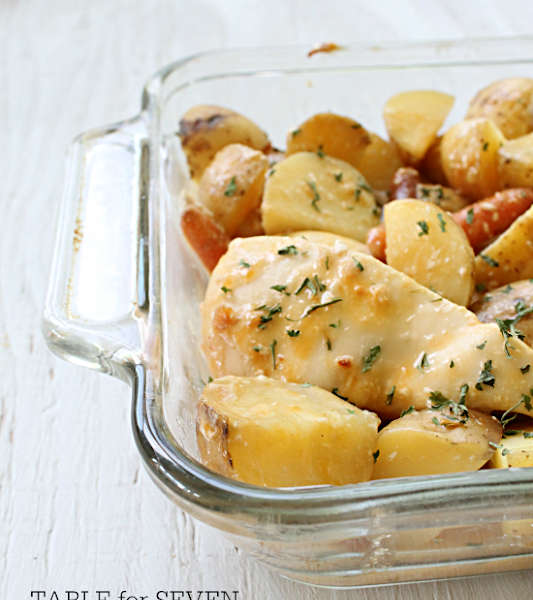
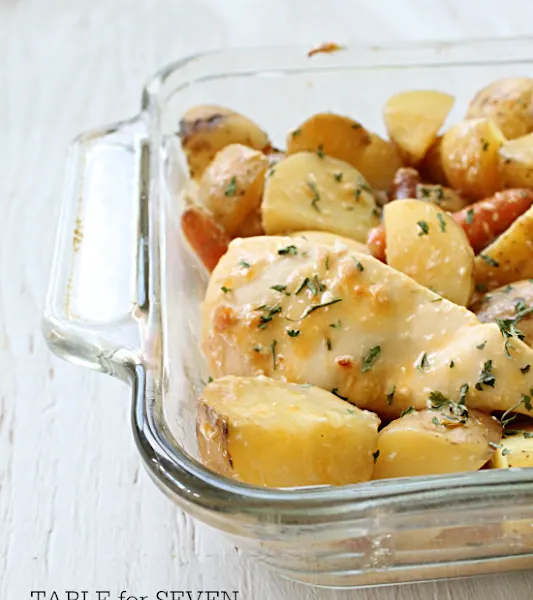
Crock Pot Cheesy Chicken and Potatoes
Instant Pot:

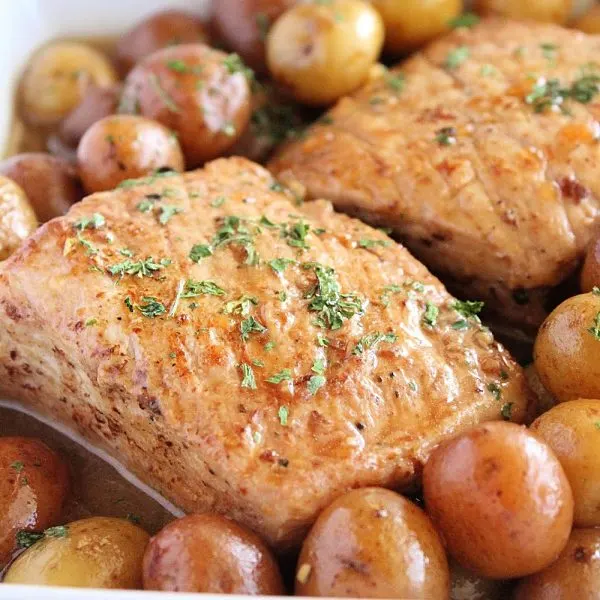
Instant Pot Pork Tenderloin and Potatoes
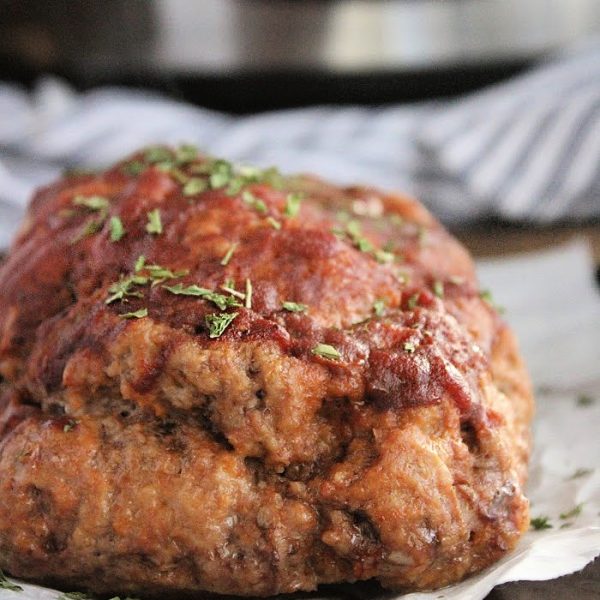

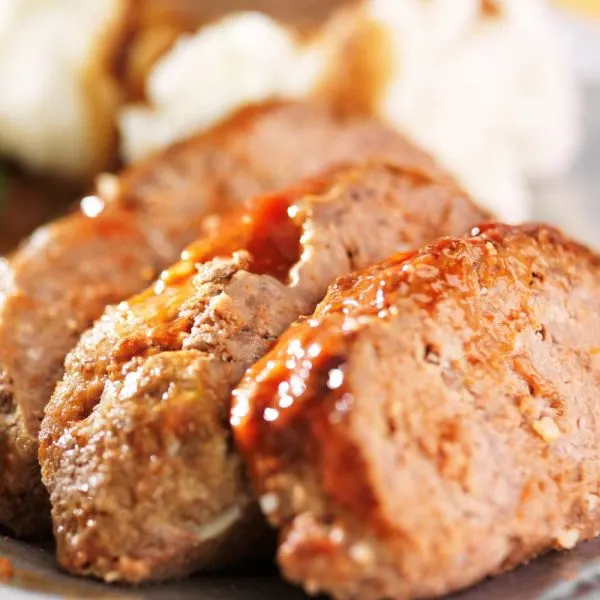
Meatloaf: For Your Crock Pot and Instant Pot

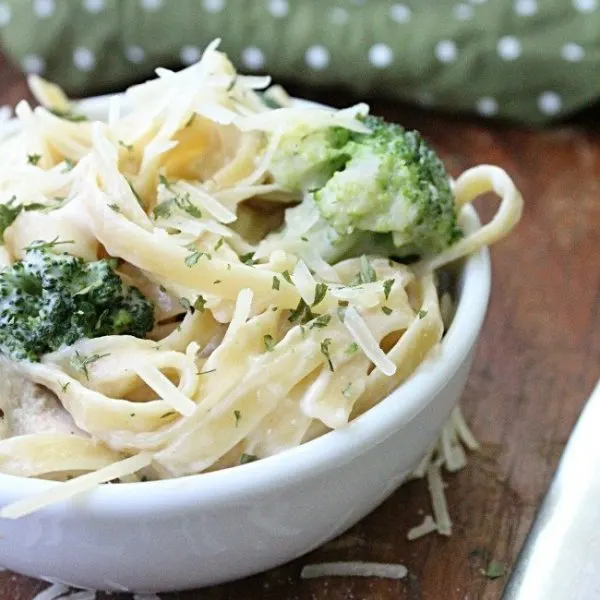
Instant Pot Chicken Fettuccine Alfredo with Broccoli
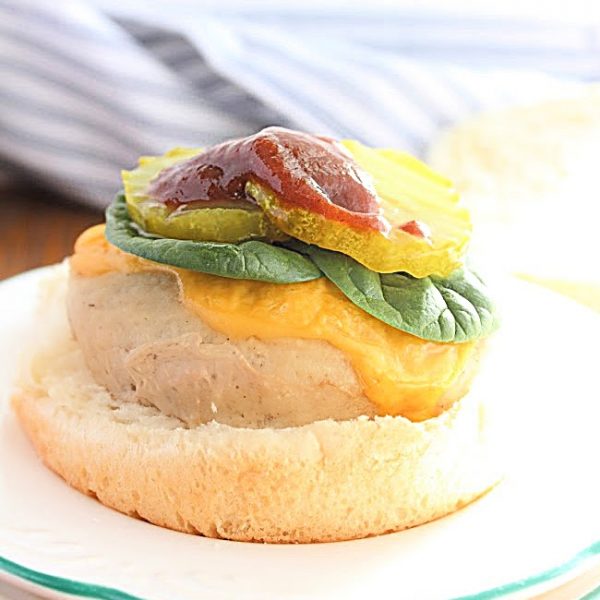

Instant Pot Turkey Burgers
Chicken:

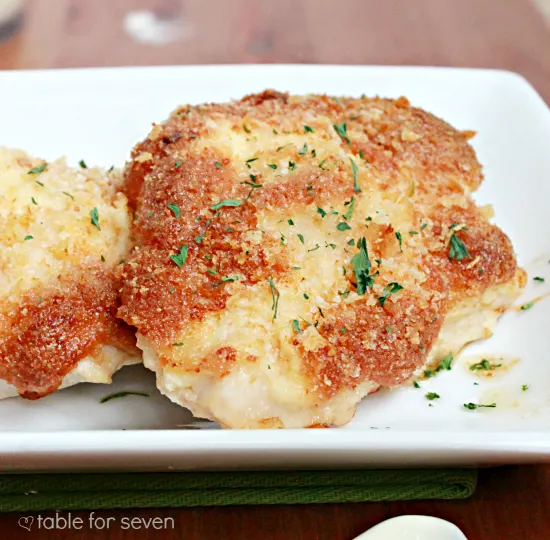
Baked Parmesan Chicken
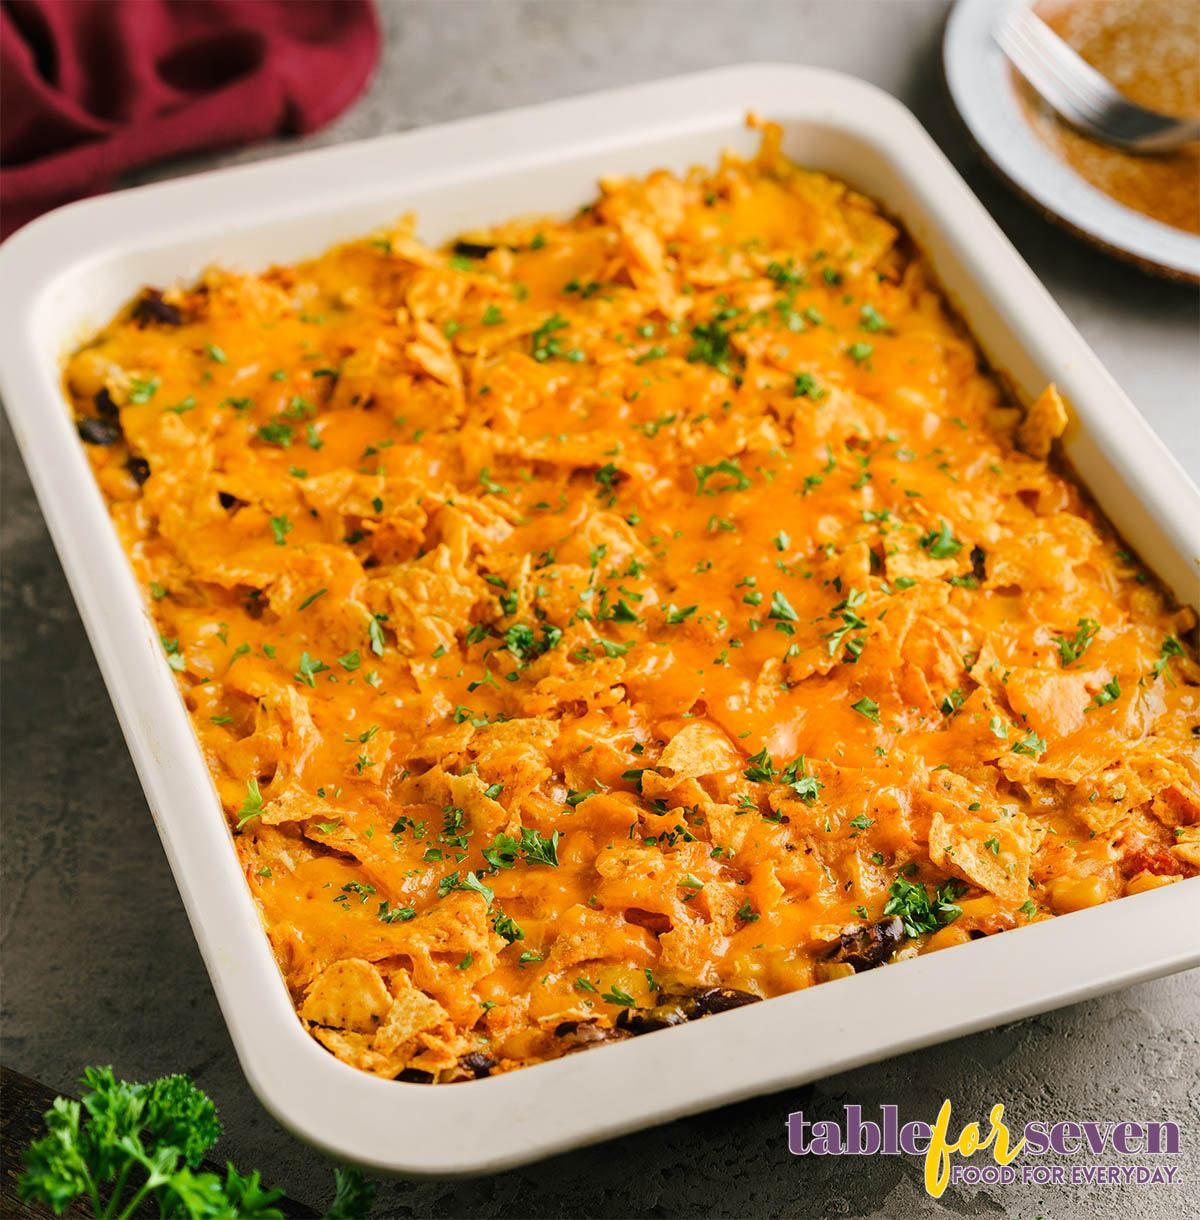

Pioneer Woman Chicken Dorito Casserole
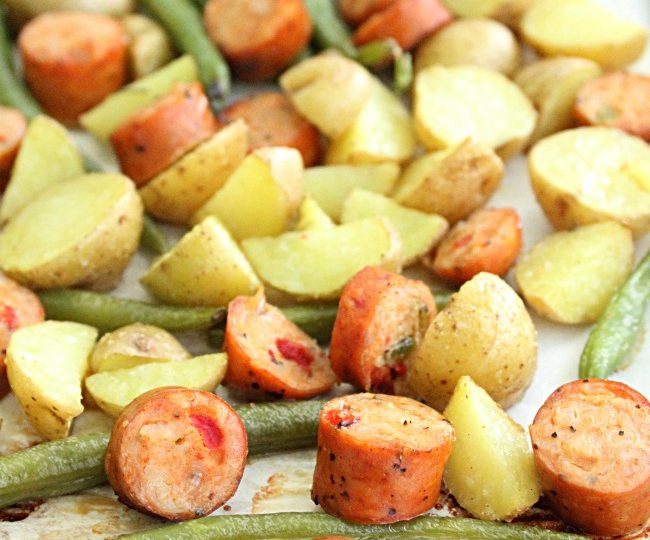

Sheet Pan Sausage Potatoes and Green Beans

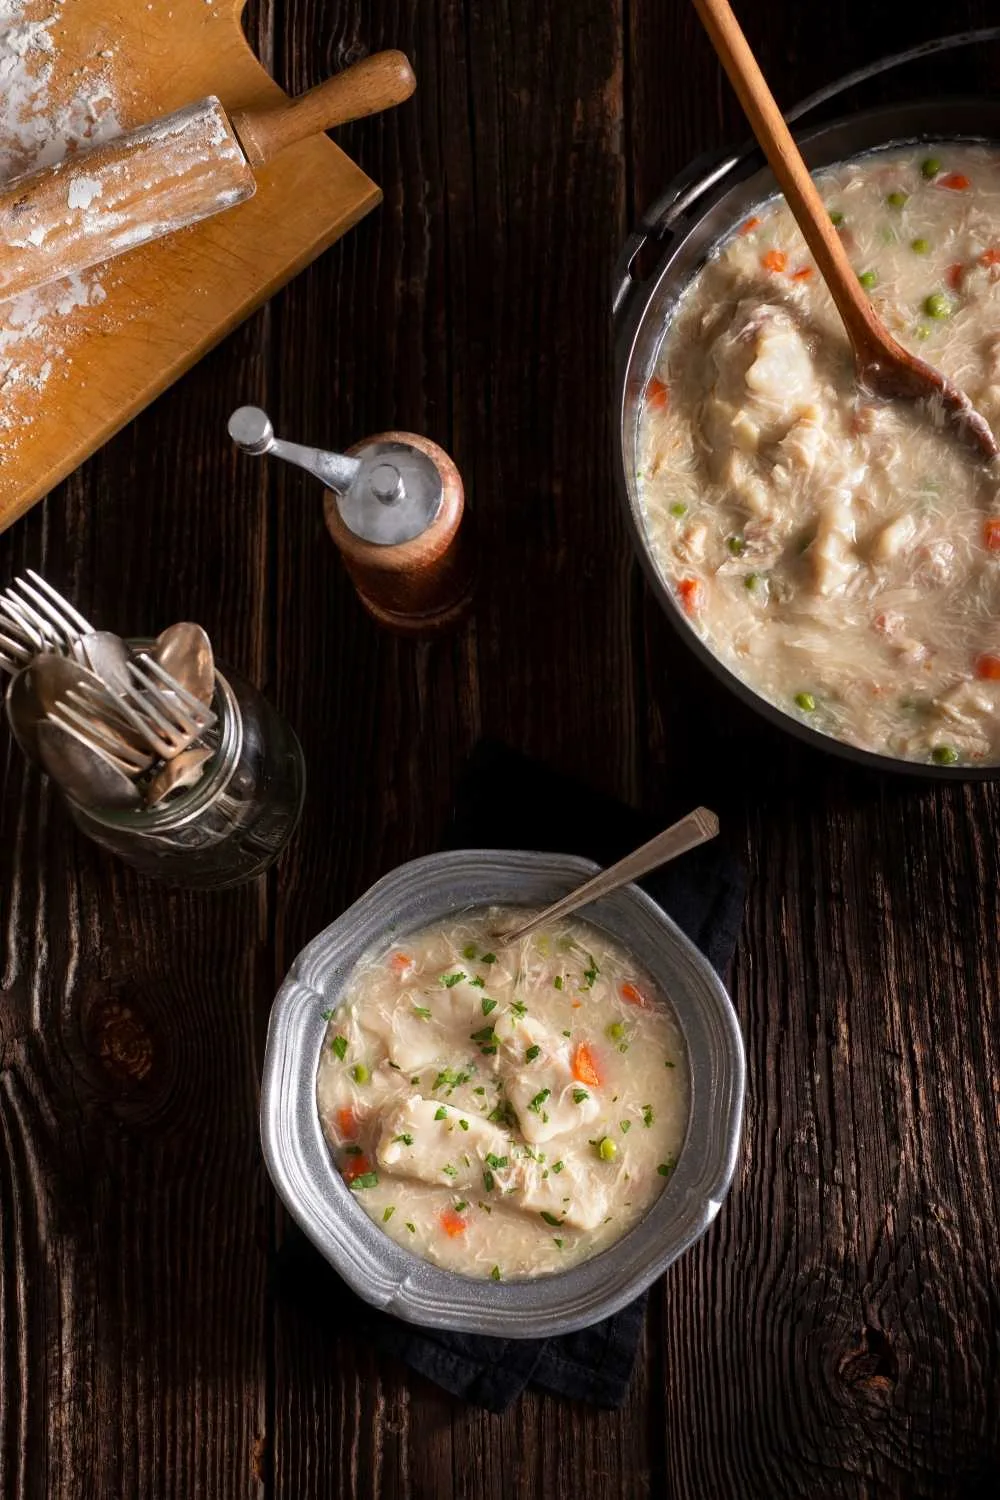
Pioneer Woman Chicken And Dumplings
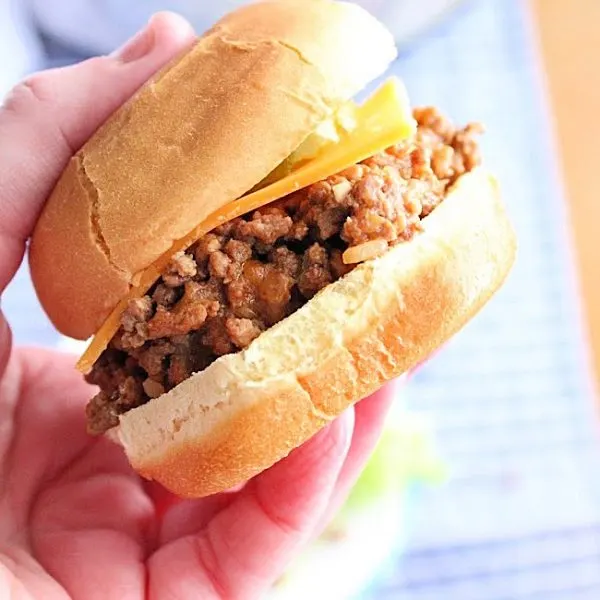
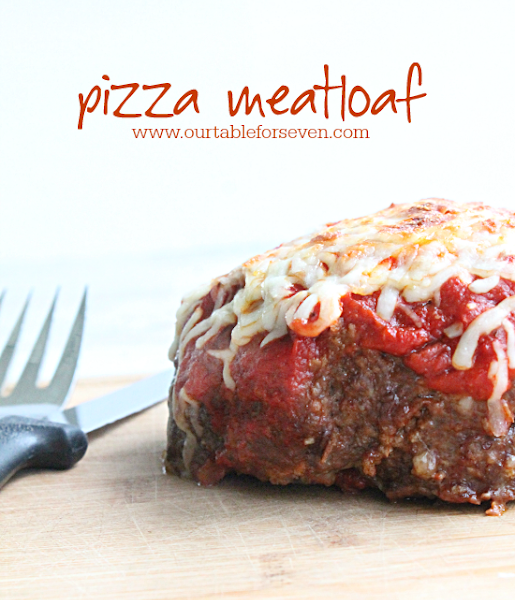
Ground Beef/Turkey:


Starts with a Cake Mix:
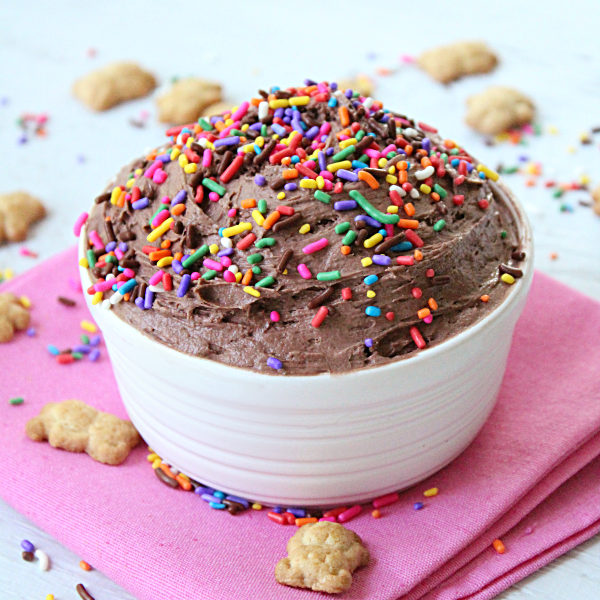

Cake Batter Dip
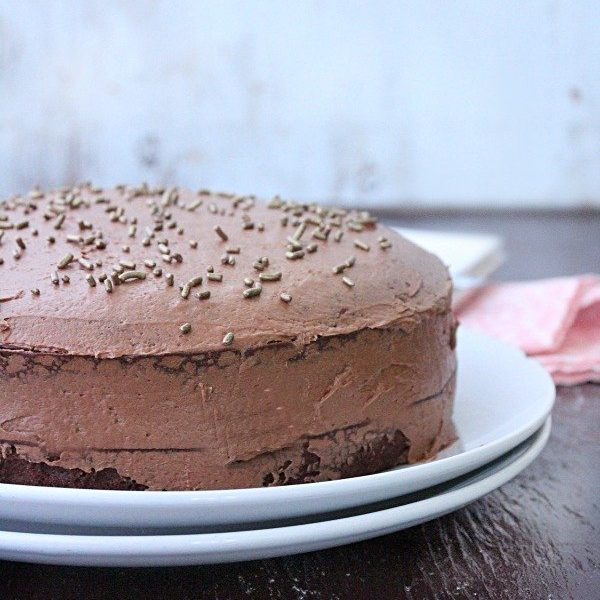

Diet Soda Cake

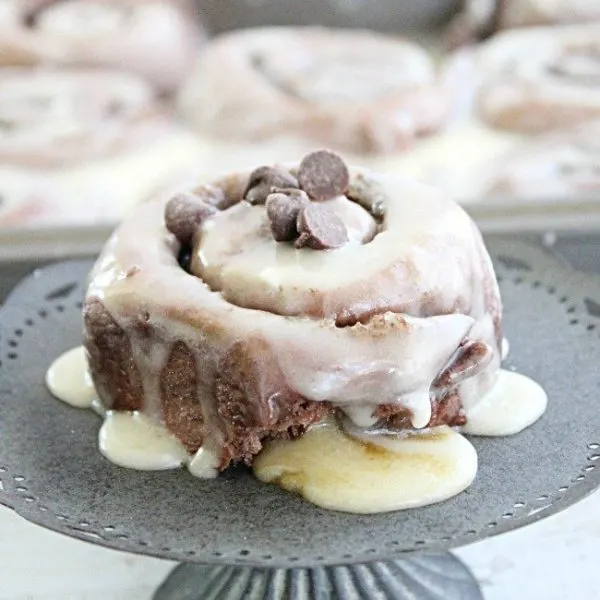
Chocolate Cake Mix Cinnamon Rolls

Two Ingredient Raspberry Angel Food Cake
My Budding Baker:
All recipes are kid friendly to eat and make! Each one is made by my youngest. He is 12 years old and a lover of desserts.


Peanut Butter Doggie Cupcakes


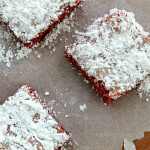
Red Velvet Crinkle Cookies


Mini Pie Crust Cinnamon Rolls